A SOCKS5 proxy routes your internet traffic through a remote server, masking your IP address for privacy, bypassing geo-restrictions, or accessing specific content. This guide walks you through setting up a SOCKS5 proxy on your device. This guide covers setting up a single SOCKS5 proxy and batch-adding multiple proxies in MoreLogin.
Step 1: Get a SOCKS5 Proxy
- Choose a Provider: Select a reputable proxy provider (e.g., dataimpulse, ProxyEmpire, or Webshare) offering SOCKS5 proxies.
- Obtain Details: After purchasing, note the proxy details:
- Proxy Host/IP (e.g., 123.45.67.89)
- Port (e.g., 1080 or 1085)
- Username and Password (if required)
- Quality Tip: Opt for residential or static SOCKS5 proxies for reliability and anonymity; avoid free proxies due to security risks.
Step 2: Install and Open MoreLogin
- Download: Visit morelogin.com and download the MoreLogin app for your PC.
- Install: Follow the prompts to install and register an account (free plan supports 2 profiles; upgrade for more).
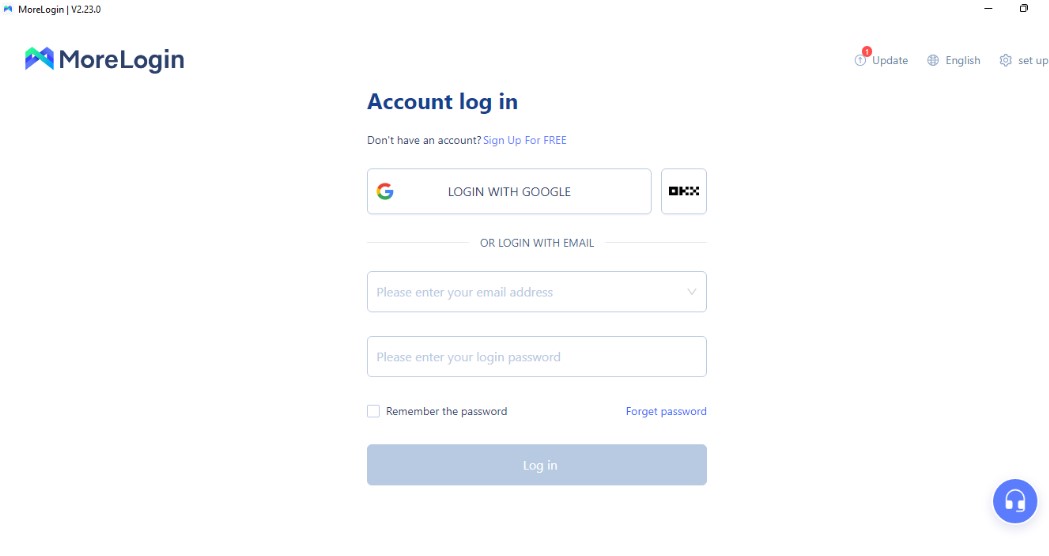
- Launch: Open MoreLogin to access the main dashboard.
Step 3: Create a New Profile
- Start: Click “+ New Profile” in the top-left corner of the “Profiles” section.
- Basic Info: In the “Advanced create” tab, fill in basic fields (e.g., profile name) as desired—these won’t affect proxy setup.
- Proceed: Move to the “Proxy settings” section for configuration.
Step 4: Set Up a Single SOCKS5 Proxy
- Select Proxy Type: In “Proxy settings,” click “New proxy” and choose “SOCKS5” from the protocol dropdown for maximum anonymity.
- Enter Details:
- Proxy Host: Input the IP address (e.g., 123.45.67.89).
- Port: Enter the port (e.g., 1080).
- Proxy Account: Add your username and password if required; leave blank if no authentication is needed.
- Test Connection: Click “proxy detection” to verify. A “Pass detection! export IP is …” message confirms it works.
- Save: Click “OK” to save the proxy to this profile.
- Launch: Start the profile and check your IP at browserleaks.com/ip to confirm the proxy is active.
Step 5: Batch Add Multiple SOCKS5 Proxies
- Prepare List: Create a .txt or .csv file with proxies in this format (one per line, up to 100):
- socks5://ProxyHost:ProxyPort:ProxyAccount:ProxyPassword
- Example: socks5://123.45.67.89:1080:user:pass
- Notes: “ProxyHost” and “ProxyPort” are required; avoid “@” or “:” in username/password to prevent parsing errors.
- Navigate: Go to the “Proxies” section in the left sidebar, then click “+ Add proxy” and select “batch add.”
- Paste Proxies: Copy and paste your proxy list into the text box.
- Test: Click “proxy detection” to check all proxies. Successful ones show “Normal” status and geolocation in the results.
- Save: Confirm and save; assign these proxies to profiles as needed.
Tips for Success
- IP Query Channel: In proxy settings, choose an IP query channel (e.g., IP2location, MaxMind) to display accurate IP info. Adjust if results mismatch.
- Static vs. Rotating: Use static SOCKS5 proxies for consistent IPs or a rotating proxy (e.g., 146.185.207.3:2087) for changing IPs—enter gateway details and credentials.
- Security: Avoid free proxies; paid residential SOCKS5 proxies from trusted providers ensure safety and stability.
- Verify: Post-setup, visit browserleaks.com/ip or whatismyipadress.com to confirm your IP and check for leaks.
Important Notes
- Compatibility: MoreLogin supports HTTP, HTTPS, and SOCKS5 proxy types—SOCKS5 is ideal for anonymity and versatility.
- Usage: Perfect for multi-account management, social media, or bypassing restrictions, but ensure compliance with target sites’ terms.
- Support: If connection fails, double-check IP, port, and credentials, or contact your proxy provider for help.
Ready to go? Install MoreLogin, grab a reliable SOCKS5 proxy, and follow these steps to browse securely and anonymously!


